Showing posts with label crafts. Show all posts

April 3, 2012

Bryce's Board

My sister-in-law and her family moved into a new house recently, and I wanted to give Bryce something special for his new room. But what? 


I saw this idea on Pinterest:


But it wasn't very boy-ish. Then I saw this idea:


And I realized I could combine them!

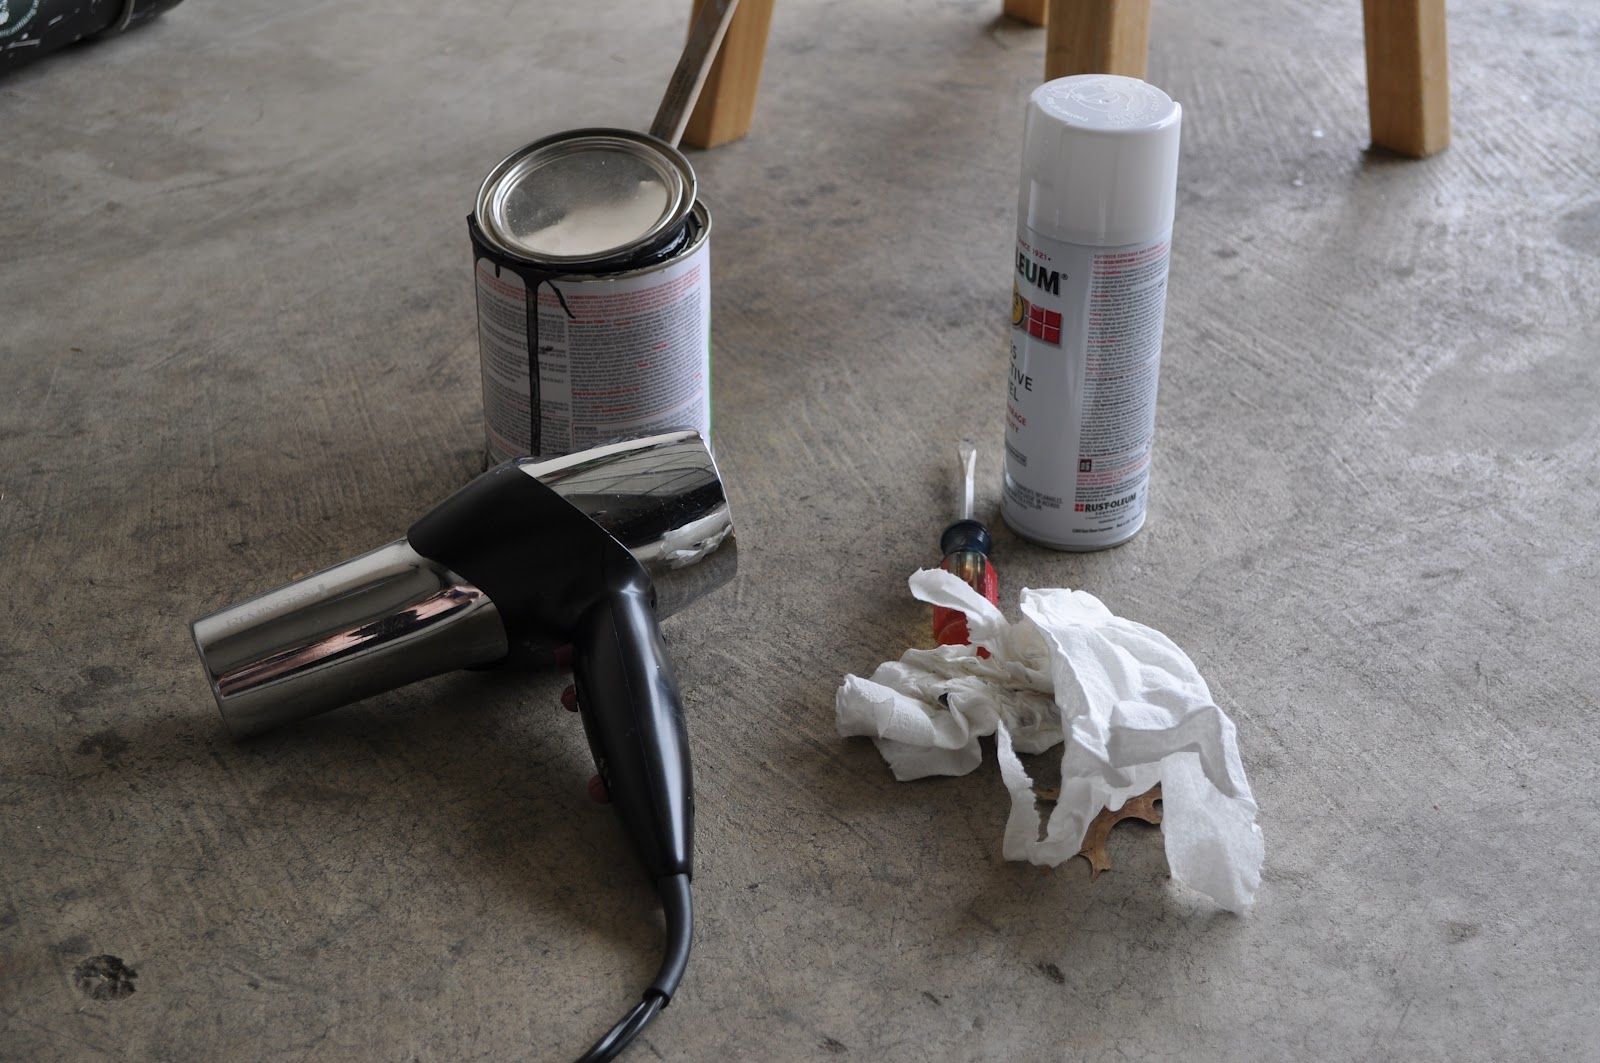
Chris already had chalkboard paint from his laundry room redo so all I needed was high-gloss white spray paint. 


I took an older cookie sheet and sprayed it with the white paint. After it was dry (I helped it out with the hair dryer.) I painted the inside of the pan with the chalkboard paint. 


It's difficult to see, but I printed out the letters of Bryce and cut them out. I placed them at the bottom on the tray and painted over them with the chalkboard paint. 


When it was all dry, I brushed a piece of chalk over the letters and they really popped out. 


I made magnets from some coke bottle tops. 


I hot glued white grosgrain ribbon to make a hanger. 


And done! 


I thought it needed one more thing so I glued a magnet onto a clothespin for an added touch. 


I think Bryce liked it because we hung it in his new room right after he opened it. 


Happy new house, Bryce!


November 7, 2011

I made fire!

I worked with a group to make a Halloween display for St. Jude Children's Research Hospital. The theme was the Mad Hatter's Tea Party. We needed a flame for our fireplace, and I offered to make it. I make fire!

I took our house fan, and created tissue-paper flames.


I placed the flames so that when the air blew, the flames blew and made a fire-log sound. See it on this video: 


Here's the completed scene with my flames!


Listen to it one more time: 


September 11, 2011

It's time: 10 years!

My BFF (best friend forever), Kathy, and I have always celebrated our Friend-versary. We met at Hendrix College on September 8, 2001. To commemorate our friend love, we give each other the appropriate anniversary gift per the year. Ten years is tin and diamond. 

I found this clock here, and I was inspired to make a "diamond encrusted" clock for Kathy. 

First, I found a clock at an antique store, but it was too shiny. 


So I decided to spray paint it. 


With glitter! I mean, diamond dust. 


Once it was dry, I began adding the jewels: "diamonds." 
I had two different sizes of diamonds around the sides and on the alarm bells. 


For the face of the clock, I used a "diamond" trim from the fabric department. 


Happy Diamond Year Anniversary, Kathy!


August 15, 2011

Tray rehab

Chris and I have had this brown tray for years. I thought it belonged to his family or something because I couldn't remember where the tray had originally come from. 


It was a fine tray, but there was a part of me that really wanted to modernize it. I would see trays in catalogs and think, "That's such a cute tray!" But, see I already had a tray, and so I didn't buy a new one. Again it was fine. Just brown. Finally one day I asked Chris about it. "It was a hand-me-down from your folks," he said. 


Perfect! I then knew I was free to mess it up in the hopes of making it better. First was a coat of red spray paint. 


I painted over the gold metal edges too. 


Yeah for pretty and red!


But I knew it needed something more. So I started searching for inspiration, and I found Martha Stewart's tray here. I immediately went to Hobby Lobby looking for cork shelf paper and a punch. But there was no cork shelf paper. I figured I could improvise with a roll of cork and double-sided adhesive paper. I could punch the shape in the cork and the adhesive paper and then put them together on the tray. Perfect. 

However, when I got home, I realized my punch (which was not a Martha Stewart brand, but I liked the shape better.) wasn't tall enough to accommodate the roll of cork. So I went to Michael's thinking (1. it was closer) and 2. they would have different punches. 

Michael's didn't have cork shelf paper, but I did buy two different brands of punches. One of them was a Martha Stewart Punch All Over The Page punch. Neither was strong enough to punch through the cork. 

At this point, I got on Amazon.com to find the cork shelf liner. I found it and ordered it. When it arrived, I immediately tried my two punches on it. Neither would cut through it!!

Back to Michael's to return the two punches. I took a square of the cork shelf liner with me, and I decided I would find the exact Martha Stewart punch shown, and test it before buying it. I usually don't promote using products before you buy them, but this "easy" project was getting out of control. 

Thankfully, the punch I chose worked!! And it was on clearance!!

Here's the cute shape I chose:


I first thought I would do lines of the flowers, but it just didn't look right. I played around with it for a bit and decided on this: 


 Here's the finished tray with Grace's nose in the pic. 


The theory is that the cork will absorb any sweating and condensation from drinks we put on the tray.


And, the cork makes it a non-slip surface. 


After all of that time and effort, I do think it turned out pretty cute. The lesson from this is to purchase exactly the products your inspiration project used. Thanks, Martha. 

April 25, 2011

Egg-Cellent

This Easter, I decided to make a centerpiece for my family's lunch. I was inspired by several blogs, and I decided I would combine some ideas to create my own craft project. 

Ideas:
1. Easter egg wreath
2. Cake pops
3. Egg shaped cake pops


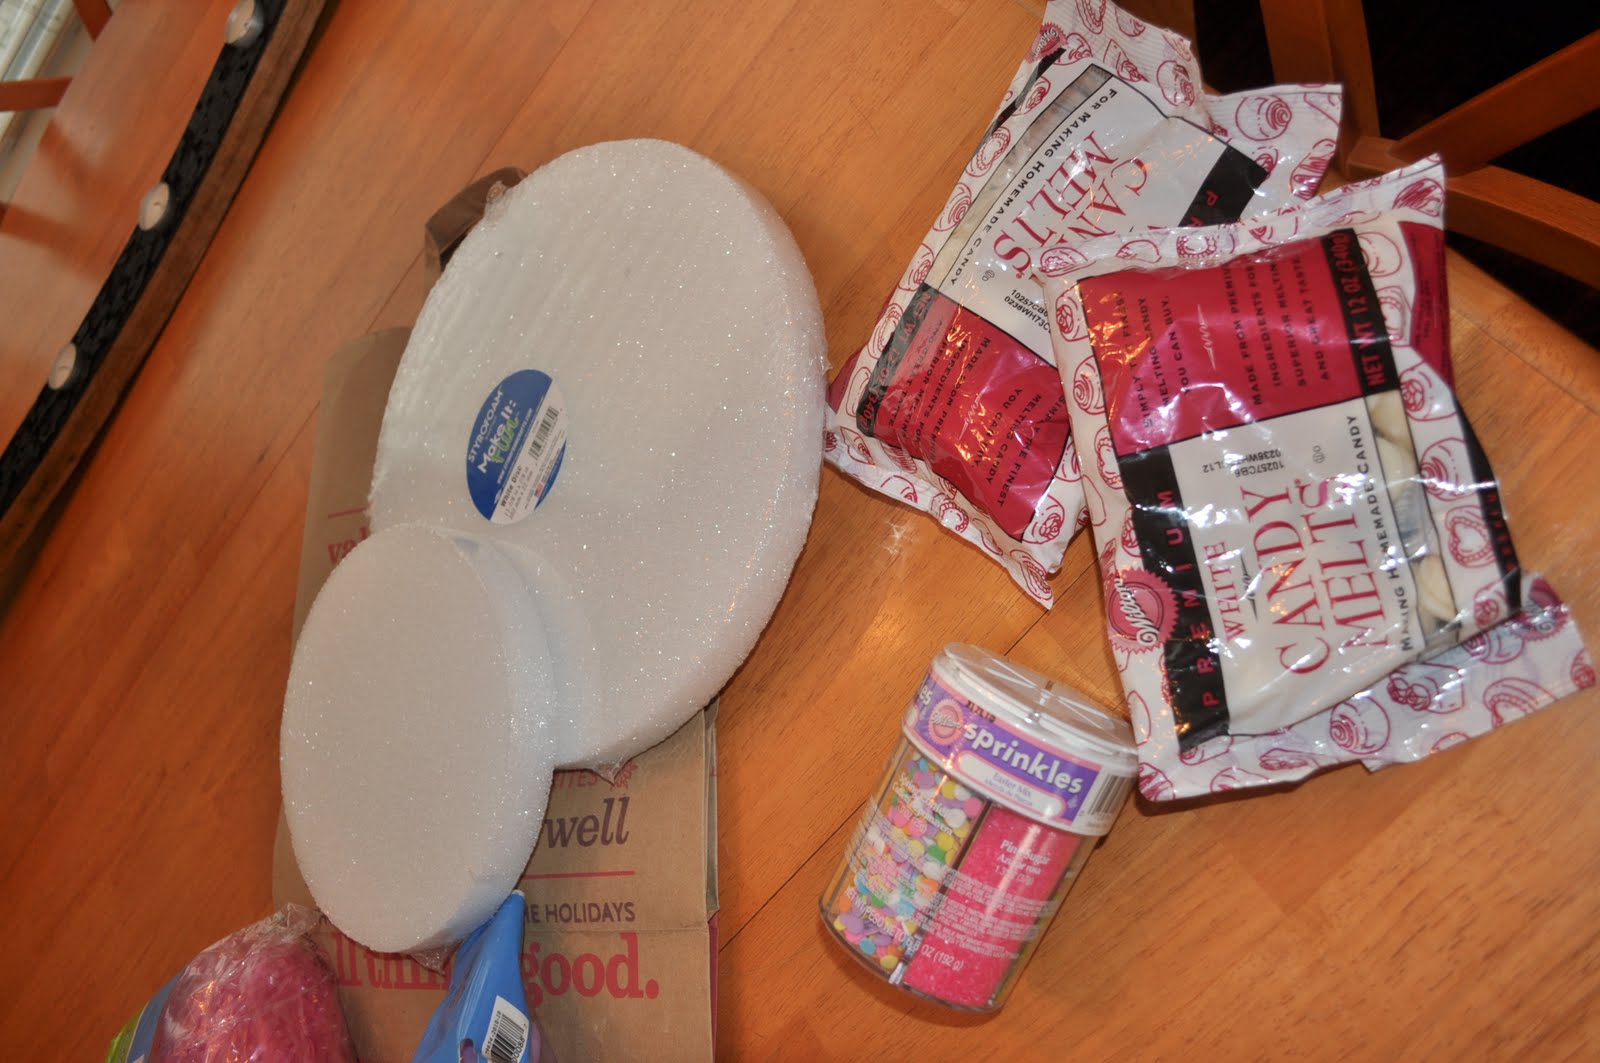
Here are my supplies:


Plastic eggs, pink grass (they were totally out of green), Peeps


Two styrofoam circle, sprinkles, candy melts


Hot glue and bamboo skewers


First, I glued the smaller circle in the center of the larger circle. This gave me some height to work with.


Then, I glued the grass around it. It was a little tricky because the grass was difficult to glue, but I would just press a handful of grass onto the hot glue and then fill in the holes. 


I began to add the eggs then. 


After I made a circle around the bottom layer, 


 I began to glue eggs onto other eggs. 


I wasn't as clean with my hot glue, but everything stayed together, so I was happy. 


Working around the base, I then build layers of eggs to hide the edges of the styrofoam. 


After the edges were covered, I worked my way into the center. 


And I was done!


Remember the outer layers of my strawberry and chocolate cakes that fell apart? I saved them in the refrigerator, and I crumbled them up together. 


The cake and icing got mixed together to form a paste. 


Once I arrived in Little Rock, I then began putting everything together. 


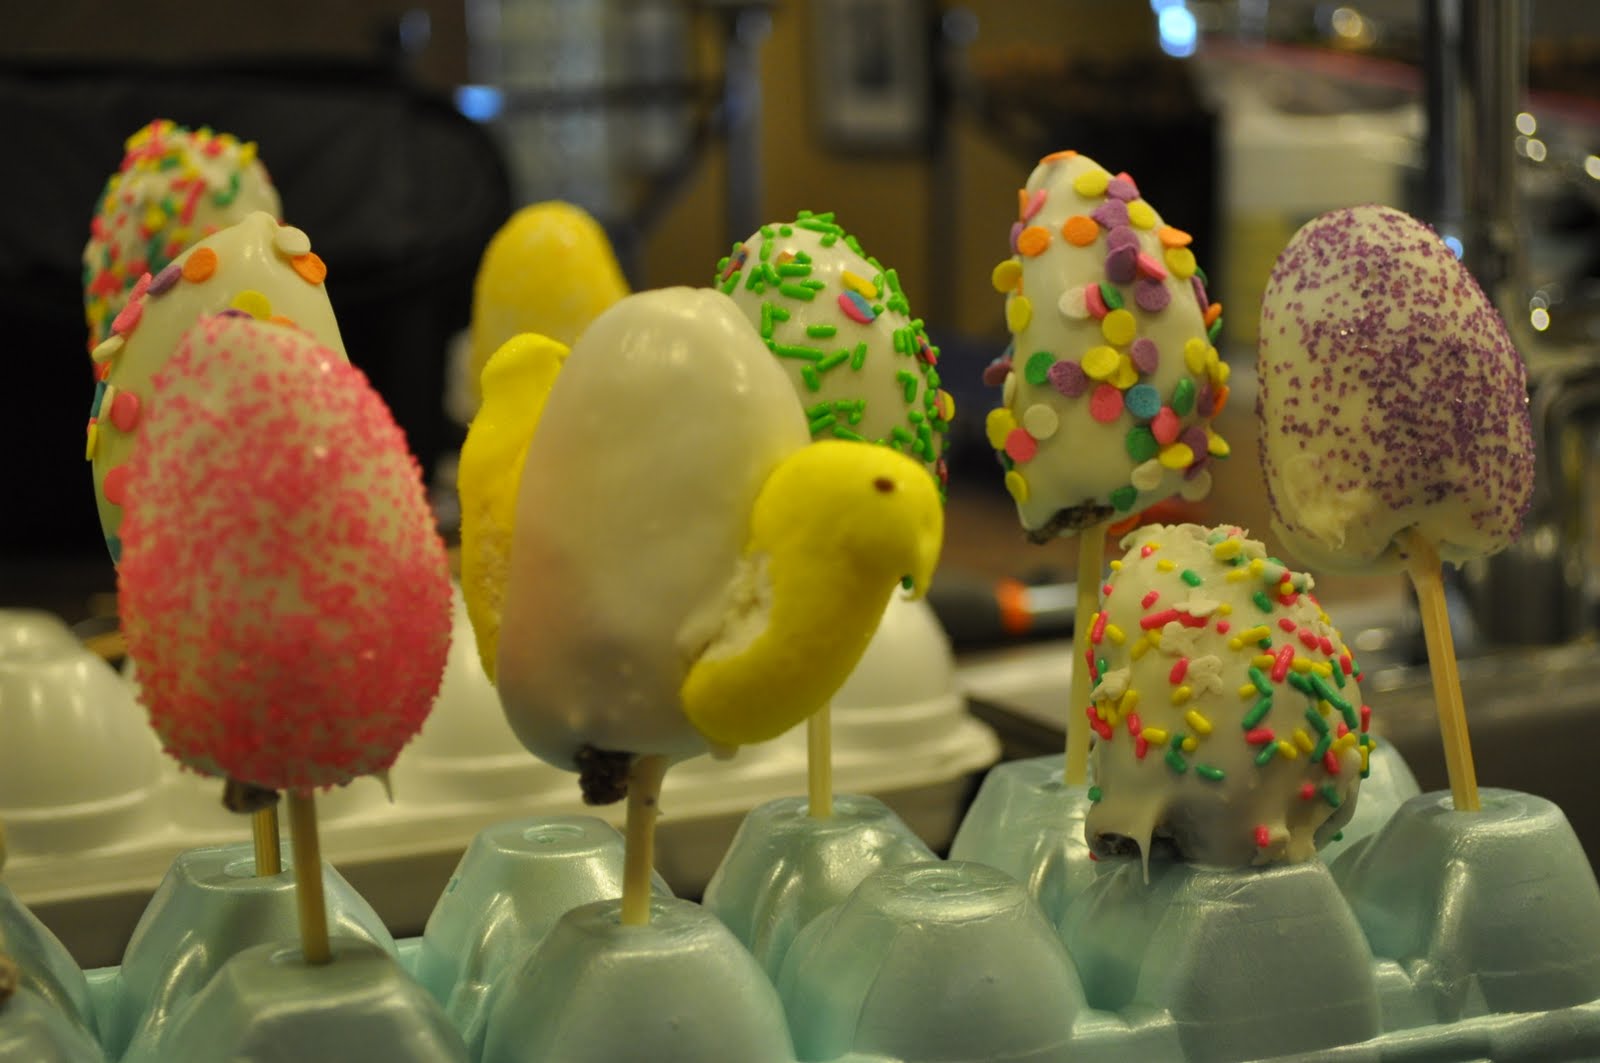
I formed the cake balls into egg shapes....kind of. And dipped the ends of the bamboo skewers into some of the melted candy to secure them in the cake ball (eggs). They had to sit in the refrigerator for a while then. 


Once they had hardened a bit, I melted all the white candy melts, dipped the now egg pops in the melted candy and decorated them with my sprinkles. 


I stuck the skewers into egg crates to hold them upright while the candy dried. 


I split a few of the Peeps in half, and placed the halves on each side of the eggs. It looked like he was pecking his way out!


My Easter egg pops collection. 


The mess of sprinkles and Peeps parts in the sink. 


I was happy with my collection. 


 Except for this hot mess. His candy coating was lumpy, and he had pink sprinkles on him. He didn't make the cut sadly. What cut, you ask?


The cut to be placed in the center of my egg centerpiece!


I placed the egg pops all around the centerpiece. 


This was the finished project, and I used some of the whole leftover Peeps around the eggs too. 


It made for a cute and silly centerpiece. I think Easter is the best time to do cute crafts like this. All the eggs and Peeps and grass just lend themselves to a fun project. And this made for a cute pile of eggs in the center of our table.


I was also happy to use the leftover cake and icing instead of just throwing it away...or eating it all myself!


Hope you had a good Easter!

Disqus for The Muddy Truth

LinkWithin

Related Posts with Thumbnails